How to make a Check-out with our Mobile App
In Cheqroom, Check-outs track when equipment has actually left (from the equipment room or building) and when it's due back.
-
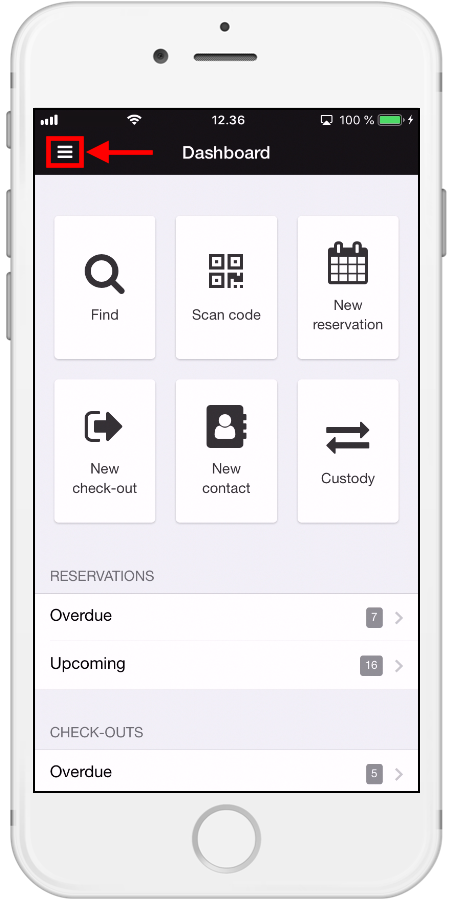
Open the Cheqroom app on your phone
-
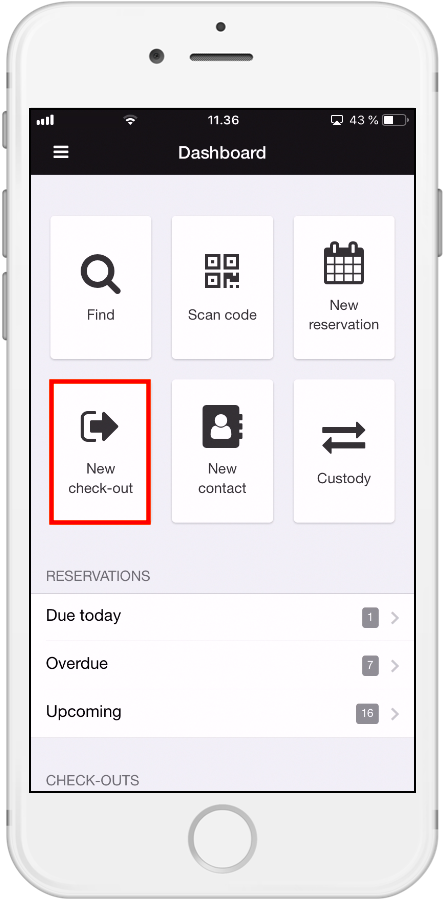
Click on New Check-out:
-
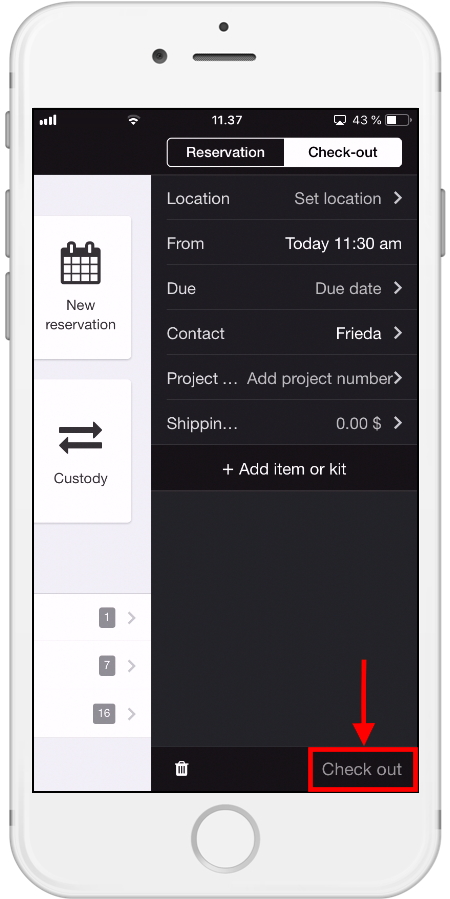
Add the Location of where the equipment will be checked out from (if you have just one location in your account, this location will be filled in automatically).
-
Choose a date and time when you will be returning the equipment (the 'From' date and time is already filled in, as equipment is leaving from this moment onwards)
-
Add a Contact (either yourself or someone else in the team who will be using the equipment)
-
If you have added your own custom fields in the web application, you will see these in the mobile app
-
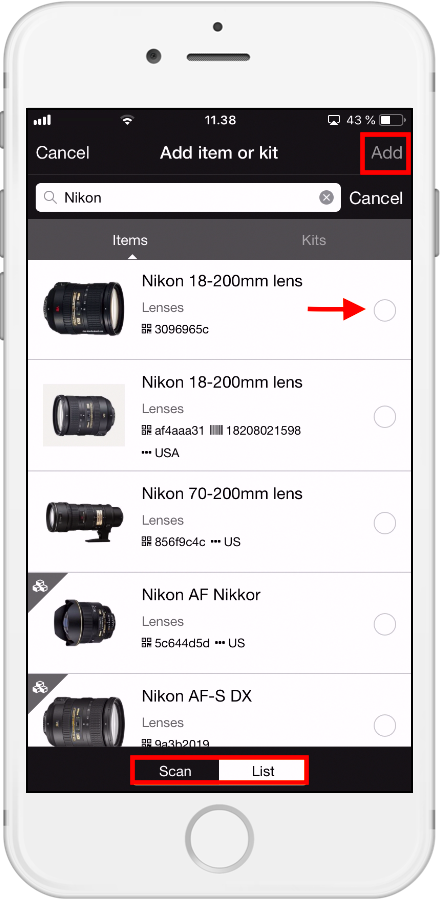
Add item or kit by either scanning the item or looking for the item in the item list. Select the item(s) of your choice and click Add:
-
When everything looks good, click Check-out:
Making a Check-out from the Check-out tab
-
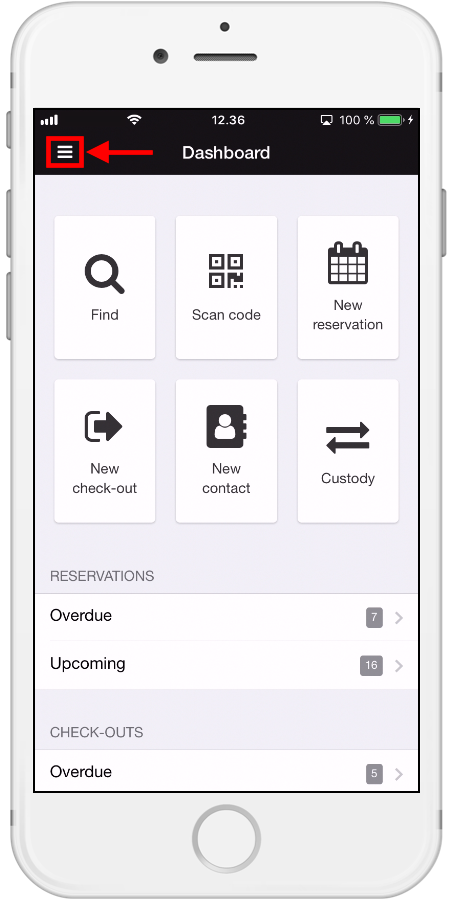
Click on the list icon in the top-left corner:
-
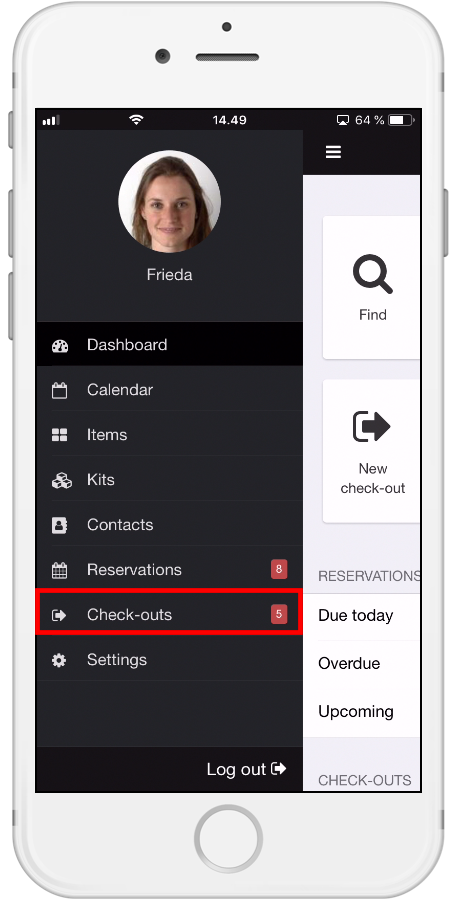
Choose Check-outs:
-
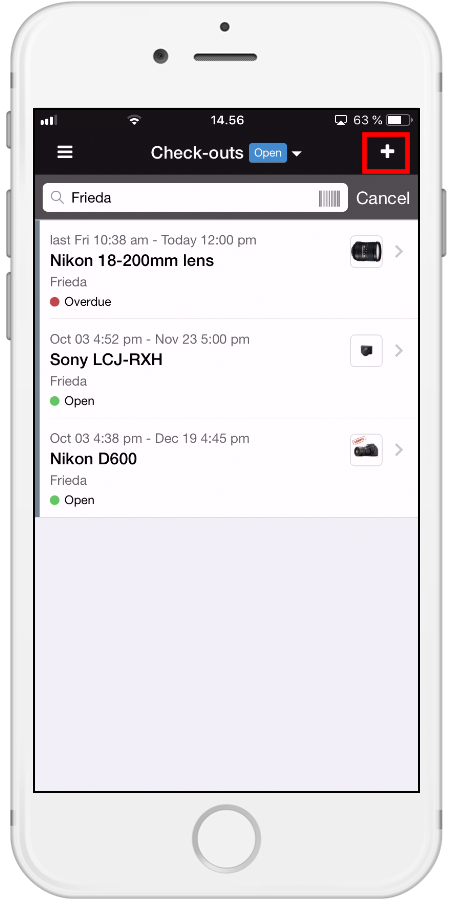
Click on the + icon in the top-right corner:
Making a Check-out from the Item section
-
Click on the list icon in the top-left corner:
-
Choose Items and search the Item you need by typing the name or by scanning
-
Click on the Item you want to use in your Check-out
-
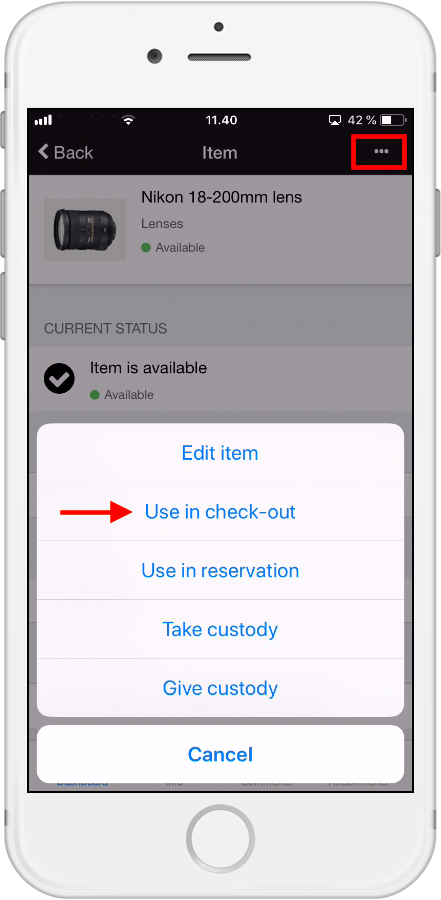
Click on the icon in the top-right corner
-
Choose 'Use in Check-out':
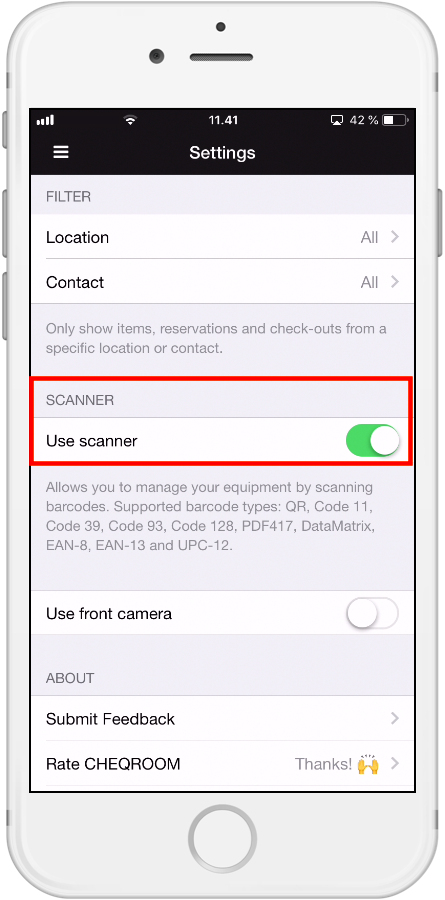
*Note: if you don't have the scanning option, you might have to turn this on in your Settings in the Mobile App:
