Field Types
Cheqroom offers a variety of field types to ensure that the information stored is relevant and valuable. Here's an overview of the available field types:
-
Single Line of Text: Allows short, unique text entries like brand names or vendors.
-
Multiple Lines of Text: Ideal for detailed descriptions or notes supporting various lines of text.
-
Date: Enables easy date addition, complete with a calendar widget for selection.
-
Currency: Format numbers as currency, with options for symbols like "$" or units like "USD."
-
Integer (Number): Suitable for whole numbers only, like unit numbers, quantities, or counts.
-
Decimal: Allows fractional numbers, which helps specify weights or dimensions.
-
Numeric: Similar to integers, but retains leading zeros, suitable for barcodes or serial numbers.
-
Hyperlink: Stores text or text-number combinations as clickable links.
-
Phone: Formats phone numbers according to the chosen country format.
-
Email: Used for storing email addresses.
-
Dropdown List (single): A closed-ended field type for selecting a single value from a list of options.
- Dropdown List (multiple): A closed-ended field type for selecting one or more values from a list of options.
- User: Add an existing Cheqroom user to an object. This allows you to pull in additional contact information to PDF templates and add additional users to notifications

Important Consideration: When adding a dropdown single select custom field to both Reservations and Check-outs, it is important to make sure the value options under that custom field match exactly for both Reservations and Check-outs. If these values do not match, you may see issues with converting your Reservation to a Check-out.
Creating a Custom Field
-
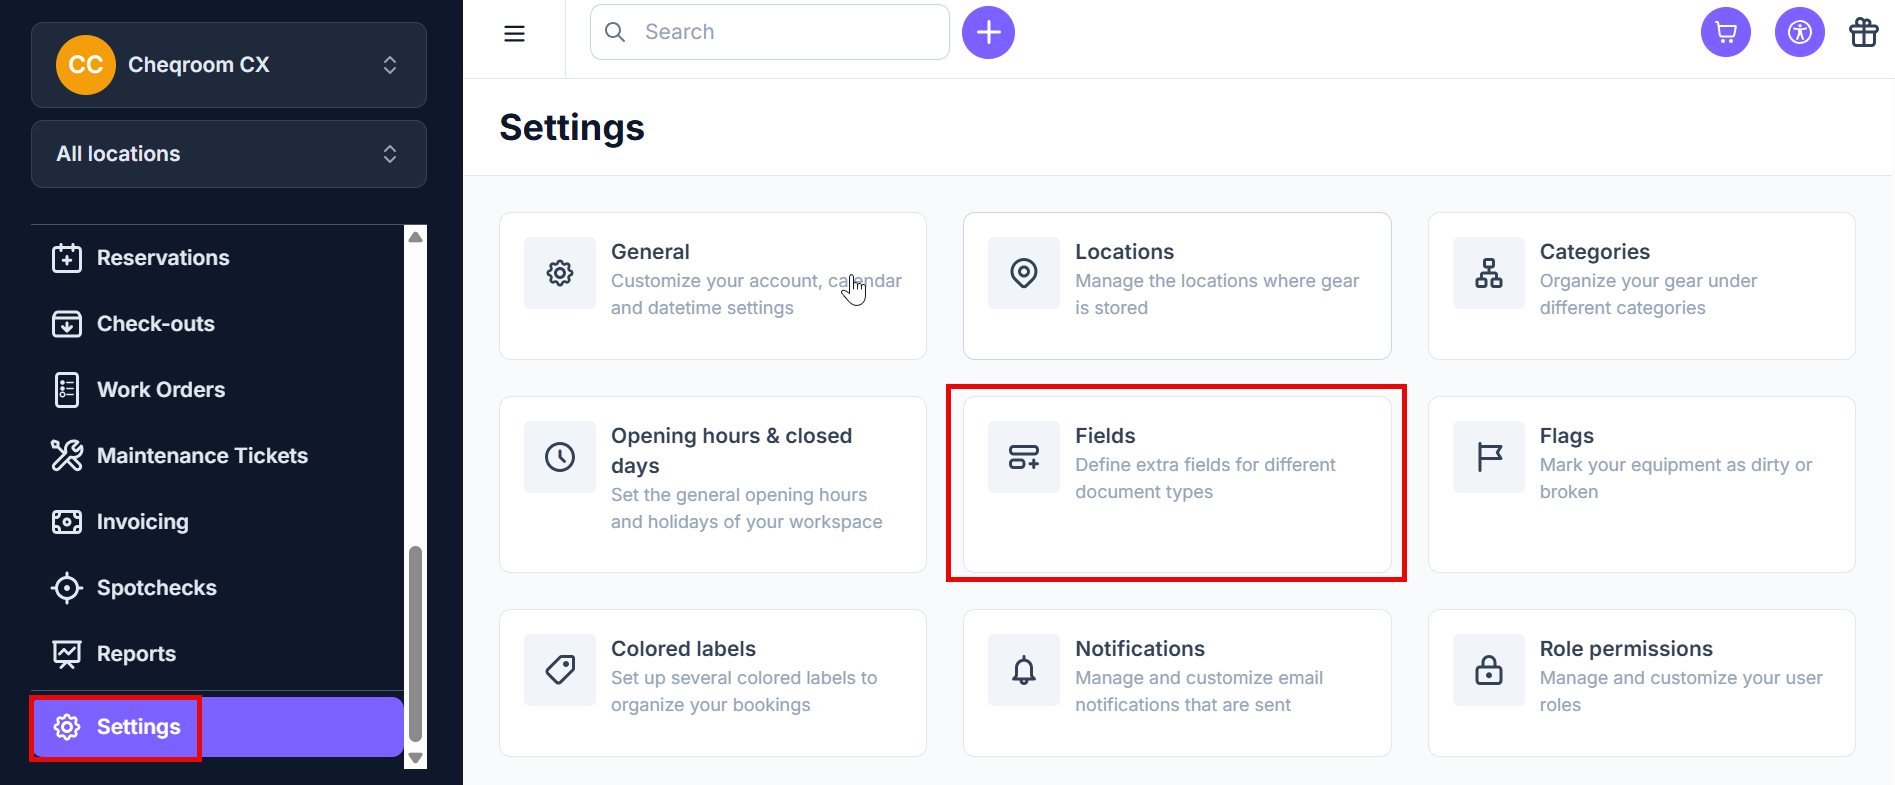
From your Cheqroom account, click on Settings in the bottom left corner of your screen and then click on Fields.
-
Click Add field, select which field you would like to add, and click Next.

-
Add a Name and Description of the field. Next, fill out any required fields and then click Add field.
🎉 Congrats! Your new custom field has been created! 🎉

-
New item settings: You can choose if you'd like the new item to show when adding the new item and if you would like it to be required or not. You can also filter for this setting as well. Once you're done, click Update field to save the changes.

Editing Existing Custom Fields
Existing fields can be edited to change the name, description, or new item & filter settings, by following these easy steps:
-
Find the custom field you would like to edit
-
Hover your mouse over it, and from the "Actions" drop-down, select "Edit"
-
Make any required changes, and then click "Update field"
Updating Custom Fields of Many Items at Once
-
On the left hand side of your account, click Items and then select multiple checkboxes for the items you'd like to make a change to and then click Bulk actions>Edit items.

-
Update the values of one or more fields.
-
Click Update to save changes.
Using Item Fields
Filling in Custom Fields for a New Item
- Click Items, then click New Item.
- Fill in the required fields, including any custom fields.
- Click Add.
Adding Extra Fields for User Data
Store additional information like employee numbers or student IDs as custom fields on the User level.
Creating a Custom Field for Users
- Navigate to Settings in the bottom left corner of your screen and then click Fields.

- Select Users and then click Add field.

- Choose the field type and then click Next.

-
Add a Name to the Name field.
-
Optionally, you can make the field appear when adding a new ser, set it as required, or add it as a filter option on the User page. Next, click Add field.

Notifications Based on Custom Date Fields
Custom date fields can trigger notifications for various alerts, such as reminders for calibration dates or maintenance checks. This improves efficiency, prolongs machine lifespan, and prevents issues.
Adding Custom Fields to Your PDF Template
You can incorporate custom fields into PDF documents for Reservations, agreements, and more.
-
Navigate to Settings in the bottom left corner of your screen and then click Templates.

-
Select the appropriate template to edit:
-
If it's a default template, you will need to clone it (click Actions>Clone).
-
If it's a custom template, click on the one you want to edit.
-
Add rows or columns where extra fields should appear.
-
Choose a title and place your mouse in the field where information will be added.
-
Click the dropdown list Insert Placeholder, and choose the field to add.
-
Click Preview & Save when done.
-
