Using a Reservation Checklist
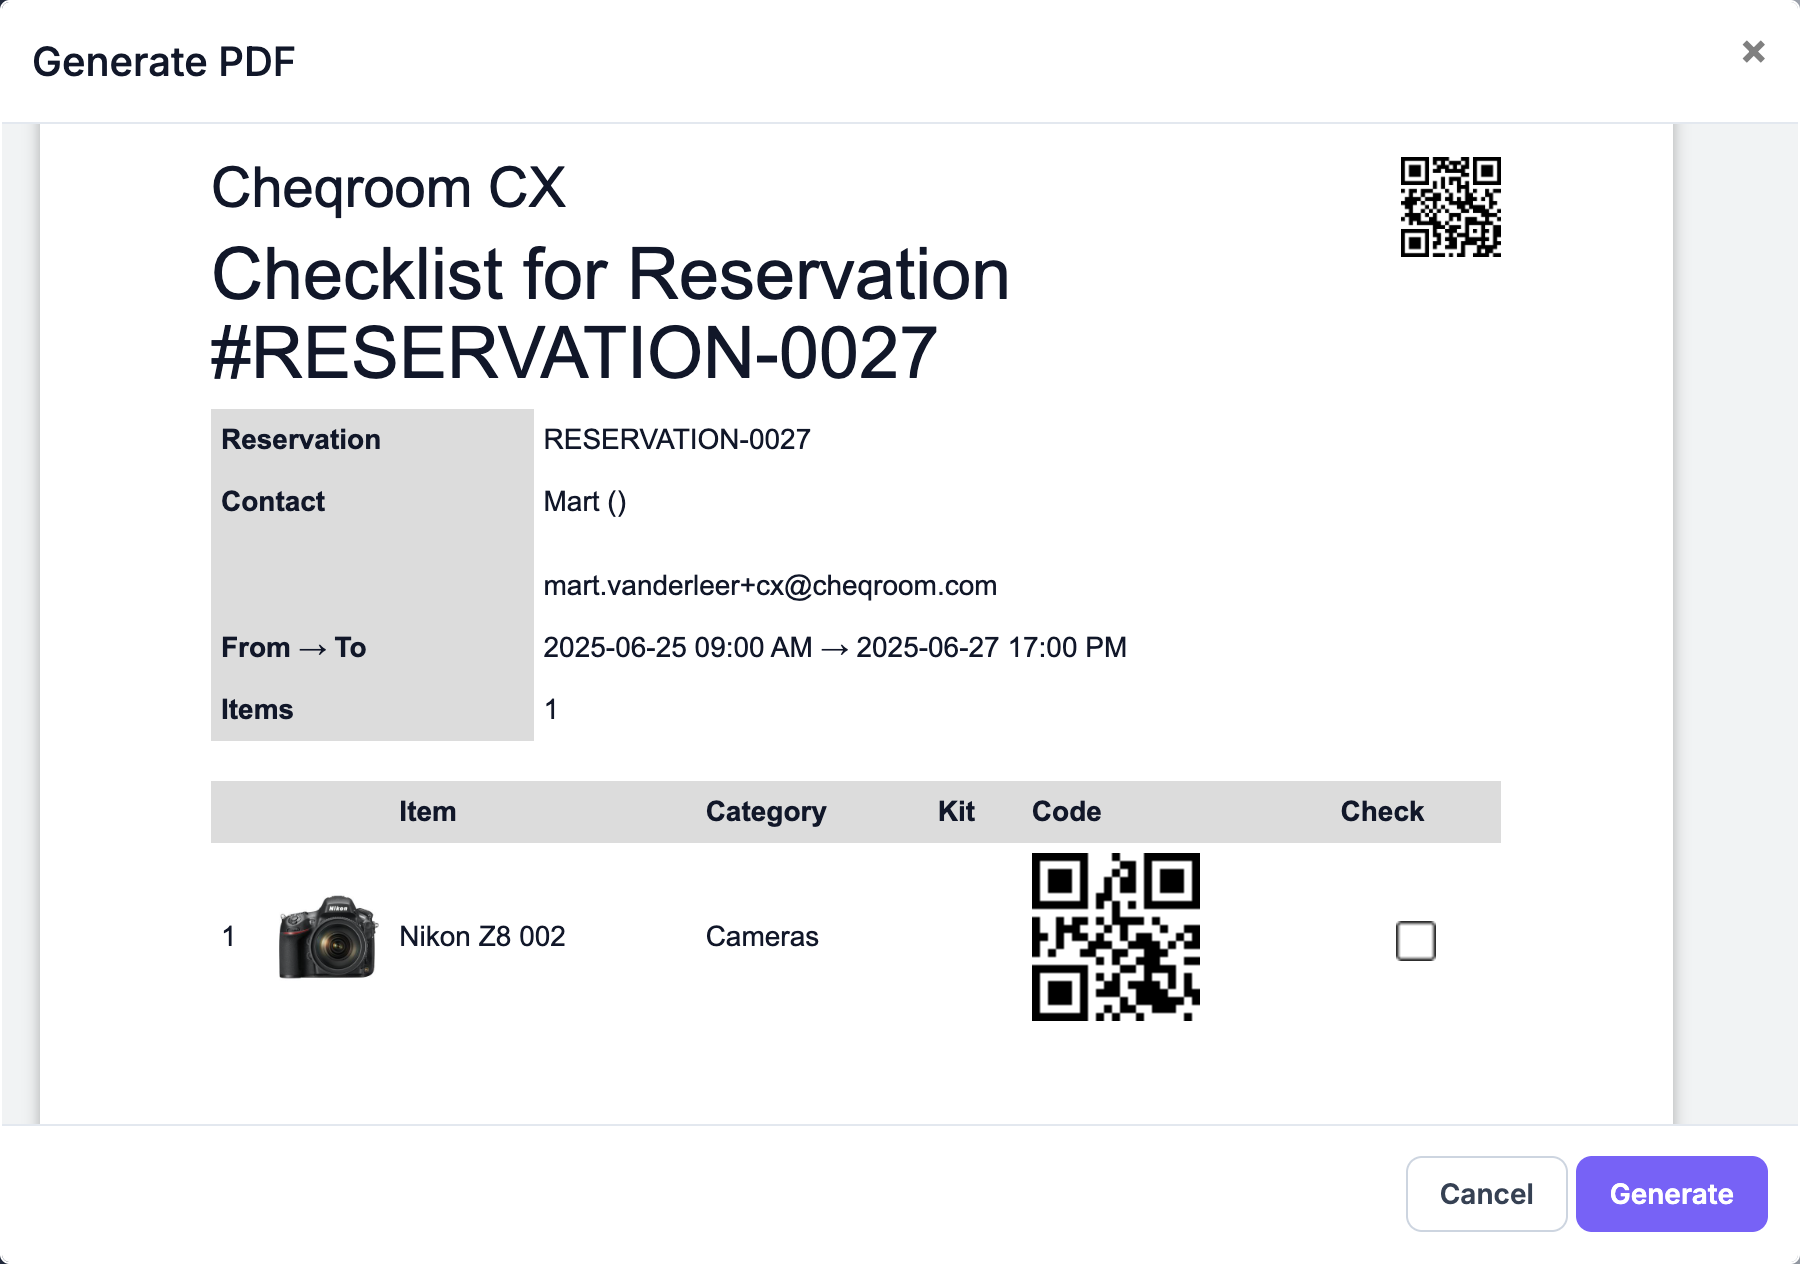
Add a Reservation Checklist to each booking so users can double check what equipment is included in their reservation.
Generate the Checklist when preparing the equipment for Check-out, to make sure you have all the gear you need. Or use the list when you're bringing the gear back, to make sure everything is returned.
-
Go to Settings in the bottom left corner of your screen
-
Go to Templates

-
Click on the Reservation Checklist template and click Preview to see what our ready-to-use checklist looks like
-
If you need to make any adjustments, click Clone

Customizing the Reservation Checklist
Now that you've cloned the template, you're ready to start editing!
-
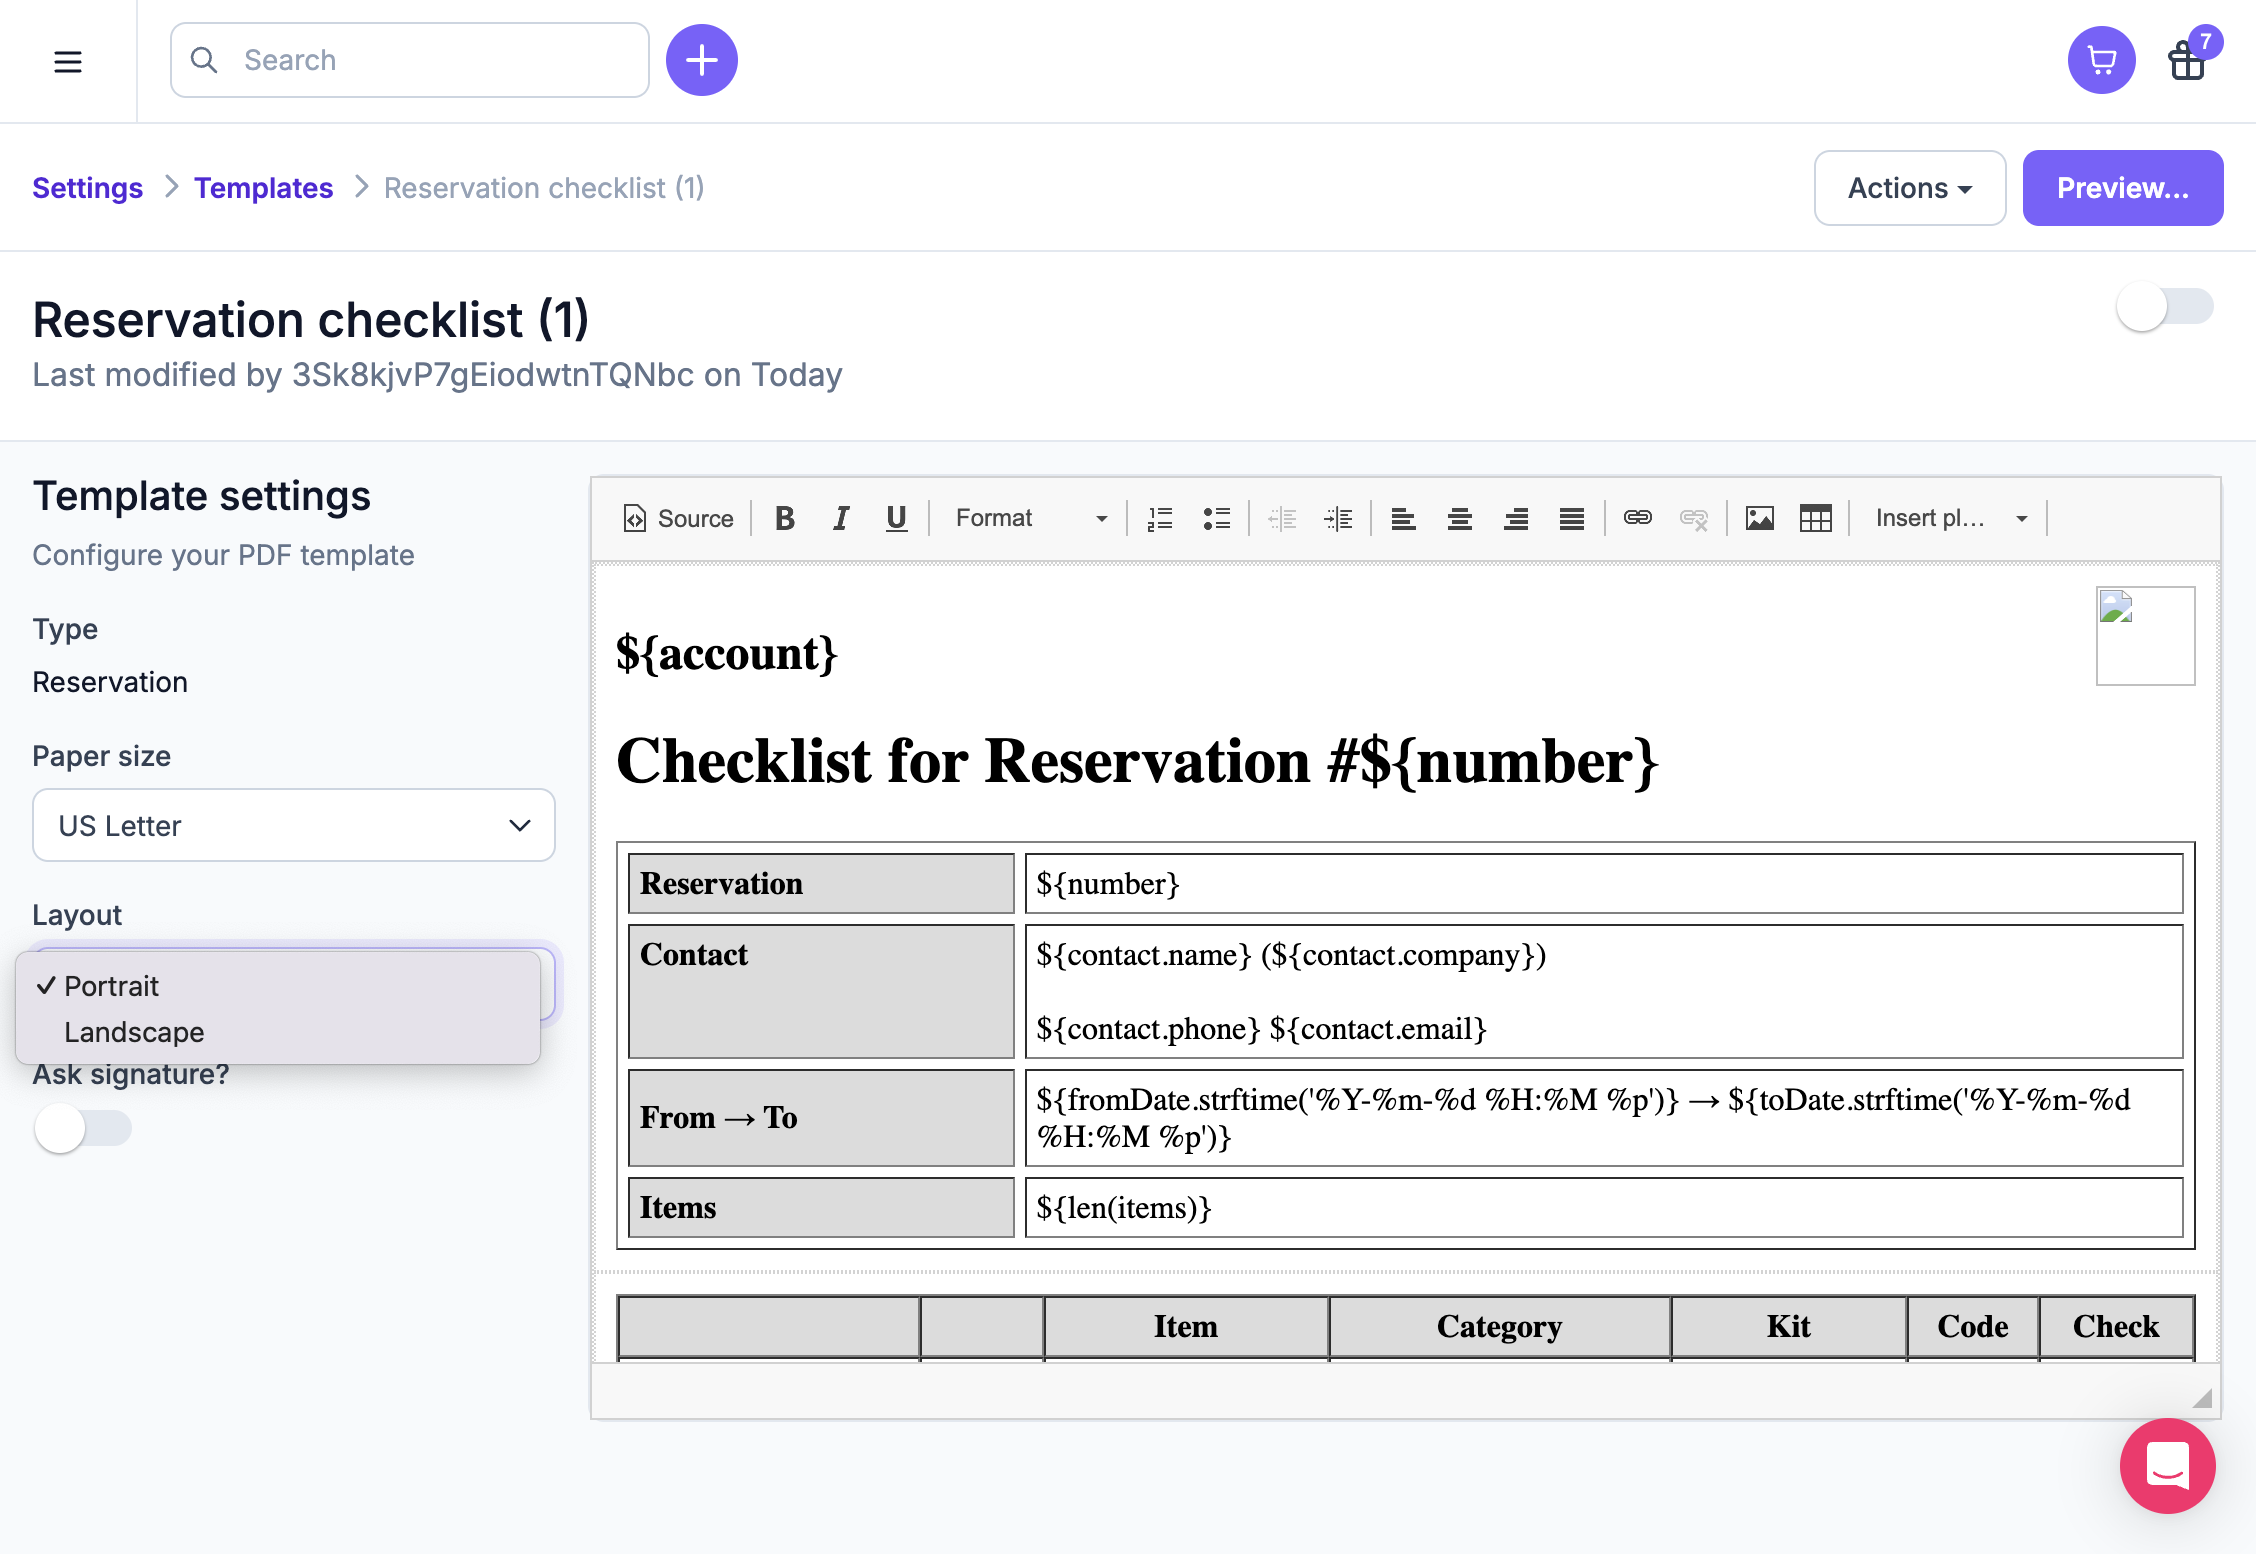
Update the template name to something more descriptive
-
Choose on which level this template should be available (Reservations, Check-outs or Contacts)
-
Choose the Paper size in case you might want to print the agreement later on
-
Choose the Layout of the agreement
-
Choose to require an electronic signature when the PDF is generated. This is ideal when you want your team members to formally sign a document that equipment is left in their care.
-
If you want to insert any other information, for example, a custom field you created earlier, click Insert placeholder
-
Click Preview to see the result, make sure the template is turned on, and be sure to click Save

Generating a PDF document for a Reservation
-
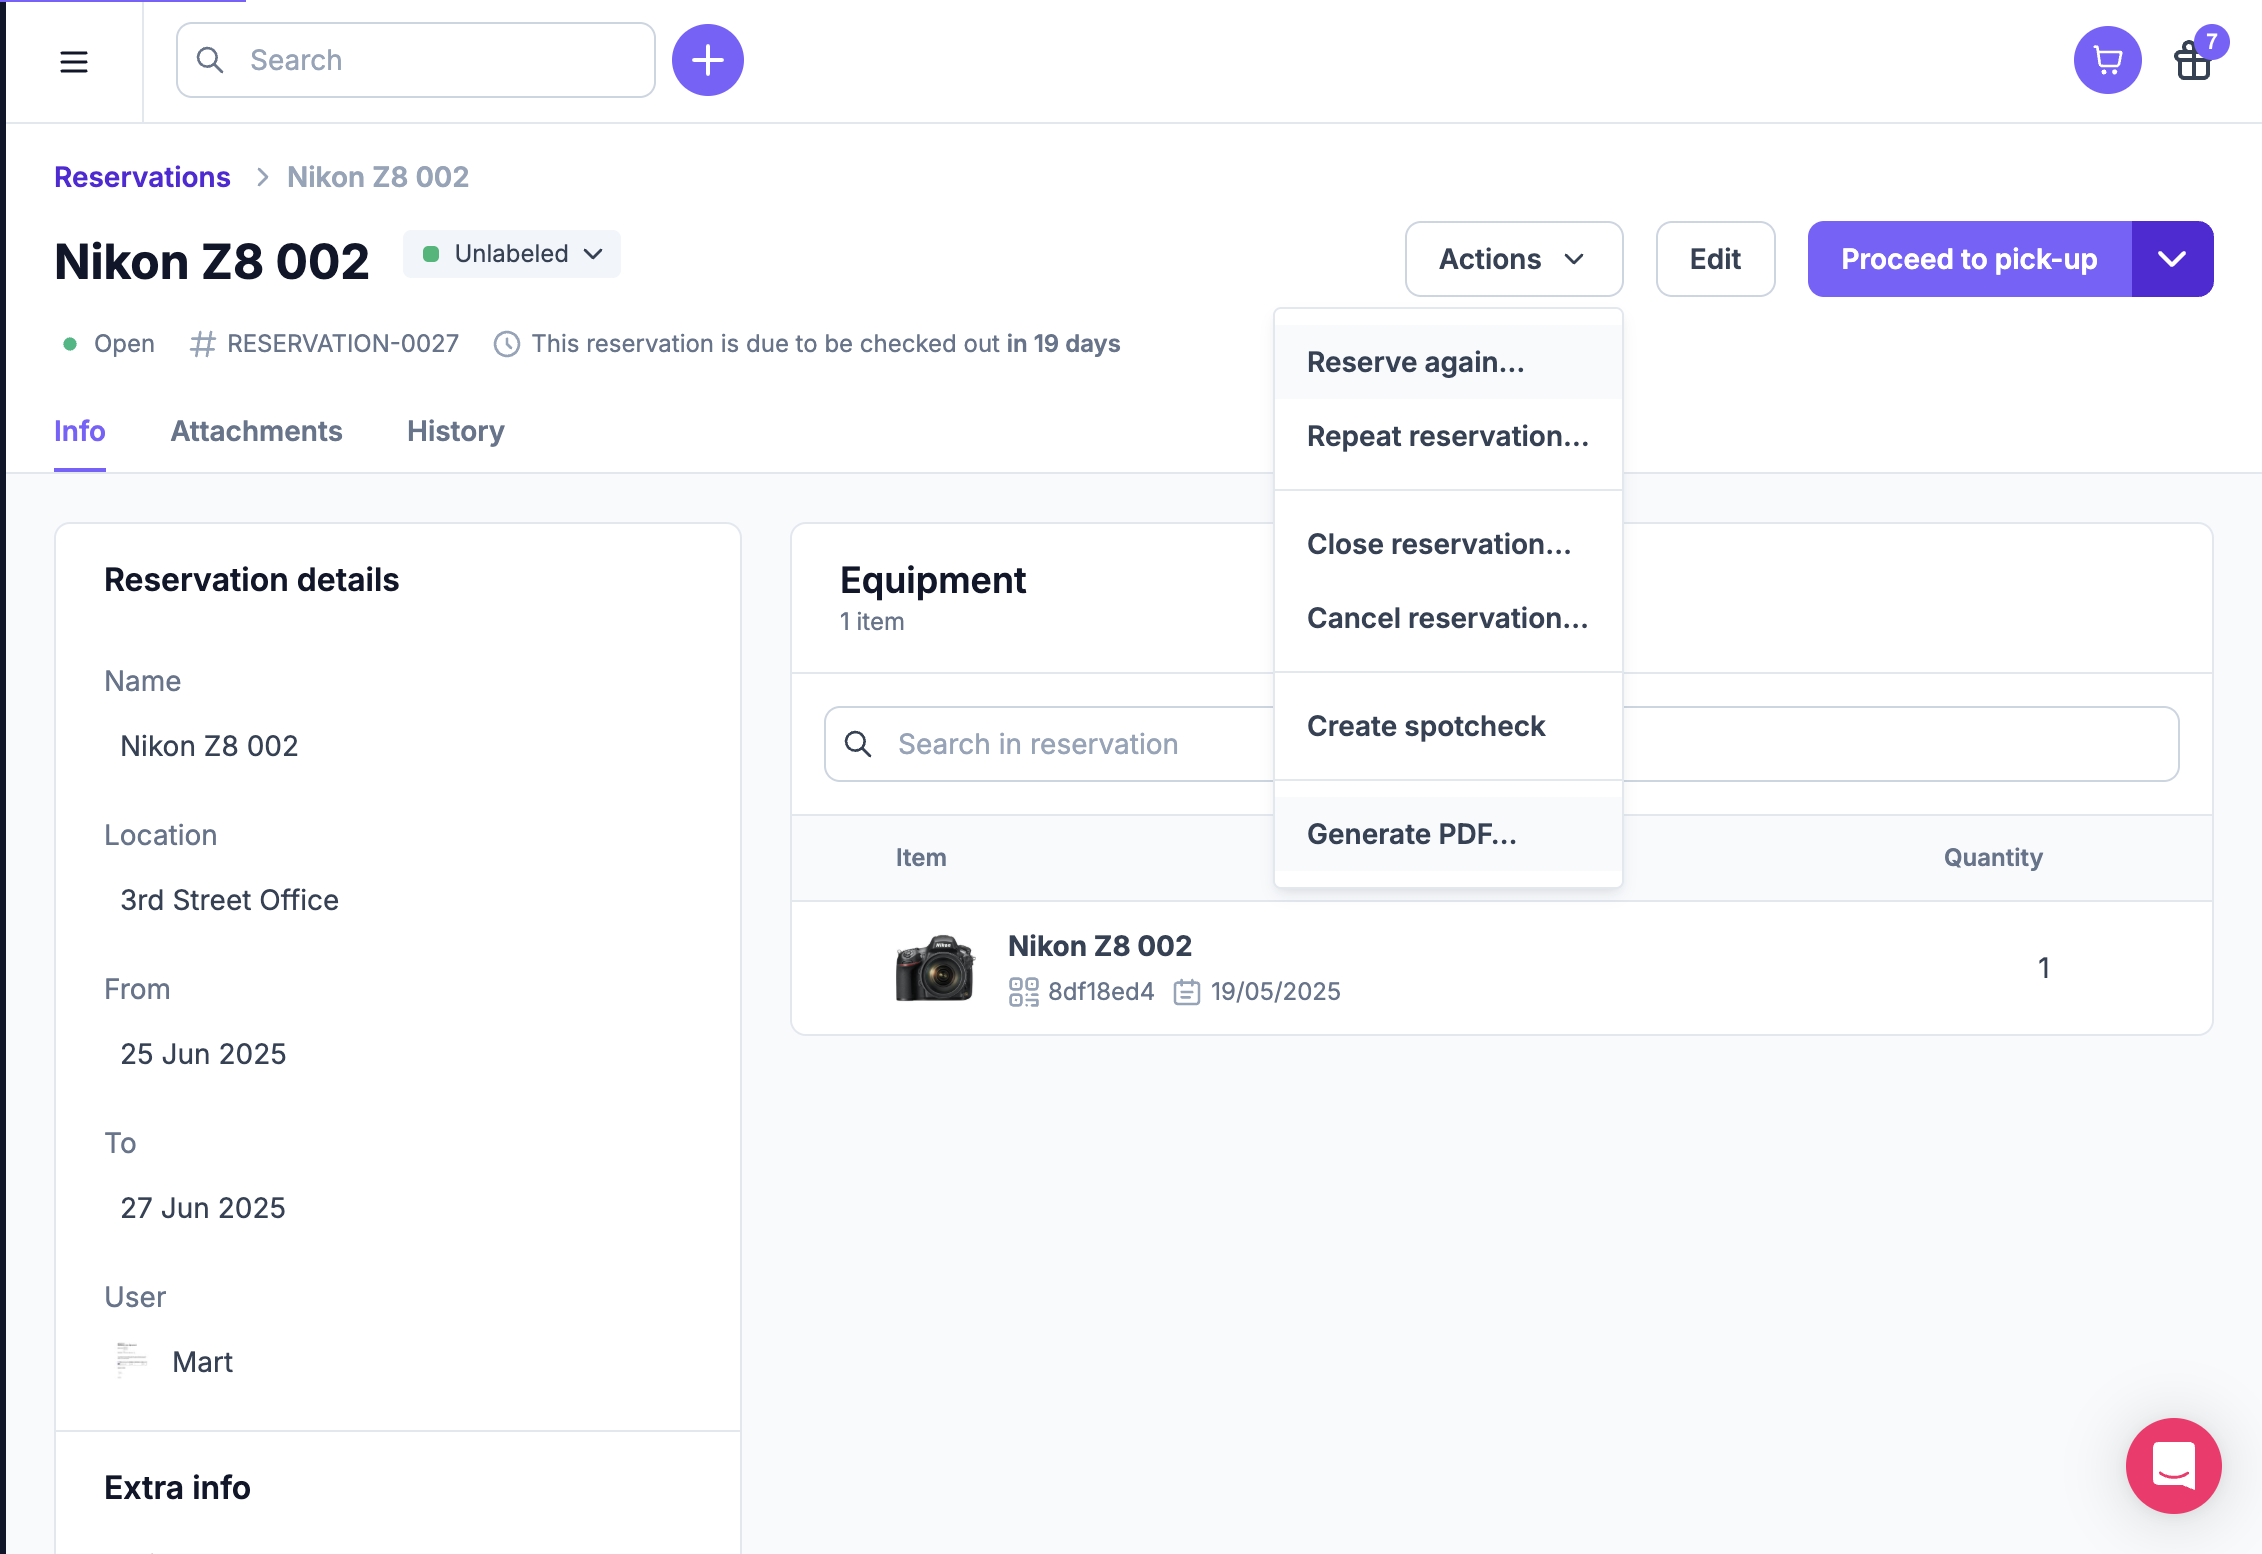
Go to a Reservation you want to have the Checklist for
-
Next, click the Contact for whom you want to generate the Contact PDF agreement
-
Click Actions, next click Generate PDF...

-
Select the template you need and click Generate

-
You might have to add an electronic signature (depends on how the selected Reservation Checklist template is configured)
-
Once the Checklist is generated, it will be automatically added as an Attachment to the Contact and appear in the history timeline on the right side.
-
Click on the PDF to download or print it
